
Hello builders, WoodReviewer here. Today is a special post; I am not looking at wood grain, nor fixing a place. So, what am I doing? You see, HolidayPwner was having trouble on Twitter getting trim to go around a corner. I know how to fix it, but couldn’t explain it in a Tweet. Luckily, I have this blog to post long-form content on, so here is my long form post on how to get trim to go around corners. If you want to do this, you will need one thing: Some building plugin that is capable of resizing by the center of a brick, and rotating a brick along its edge. CmdUtl and all derivatives should do this, along with most alternatives, so just take your pick.
Part one: Basic 90 degrees corner.
Step 1: Make the trim and add it to a wall.
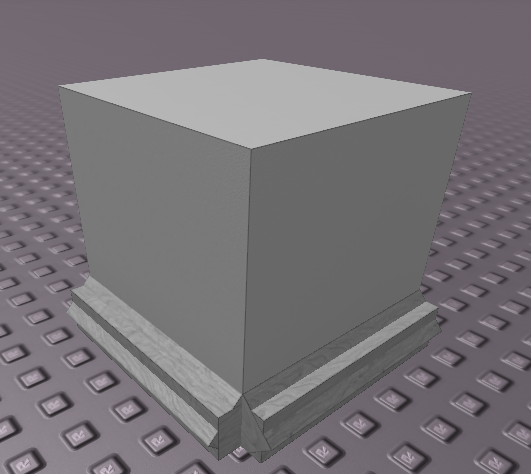
Step 2: Extend the trim so each piece intersects with itself.

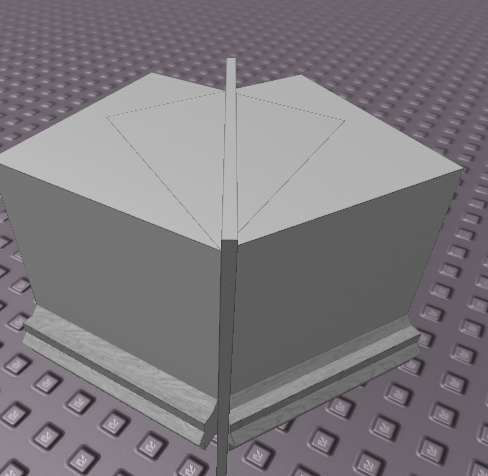
Step 3: Make a duplicate of the wall and rotate it by 45 degrees. The resize it from the center so it is only .2 studs thick and extend it out towards the trim.

Step 4: Duplicate the piece you just created and offset it and the original by .1 studs from center.

Step 5: Enlarge both pieces so they take up the entire trim on their side, but not so they cover the area of the other.

Step 6: Negate both pieces.

Step 7: Union the piece on the opposite side. So the negated piece on the left should be unioned with the piece on the trim on the right.

Step 8: Union the other piece of trim and negation.

Part 2: Enlarging a piece of trim.
Step 1: Separate union.

Step 2: Enlarge the trim.

Step 3: Reunion the trim.

Part 3: Non-90 degrees angles.
Step 1: Get the trim and the walls in place. It is important to know the angle that the walls meet.

Step 2: Get the negations in place. The first step is to duplicate part of the wall and decrease it in size.

Step 3: Rotate it by the edge of where the walls meet. This requires some version of CmdUtl and any other build plug in. Rotate it by half the difference of where the walls meet; my walls meet at 60 degrees, so I did it by 30 degrees.
Step 4: Clone that part and move it over by .2 studs.

Step 5: Enlarge the parts to cover the trim.

Step 6: Follow parts 6-8 in the first section and union the trim.

Overall, this technique should work on most corners and most shapes assuming both pieces of trim are the same. If you use the third stage, you just need to know the angle at which the corners connect at. So, some of you are wondering, how do I know this? Simple; just used a similar technique that you use when cutting house trim.

Or you could just use cornerwedges?….
LikeLike
You can’t if the trim is advanced
LikeLike
Pingback: Texture Clipping-RBXDev Offices Part 4 | WoodReviewerRBX