Hello there CSG abusers of Roblox, WoodReviewer here with day 19 of my 2024 Advent Calendar. As we are quickly approaching the end of this years calendar I truly hope that some of you are learning something, preferably in relation to how wood grain works but learning anything at all is fine. There are still a few more things left for you to learn with this year’s calendar, including what is in today’s gift.
A picture frame. Or painting frame. Or anything that requires a frame really.

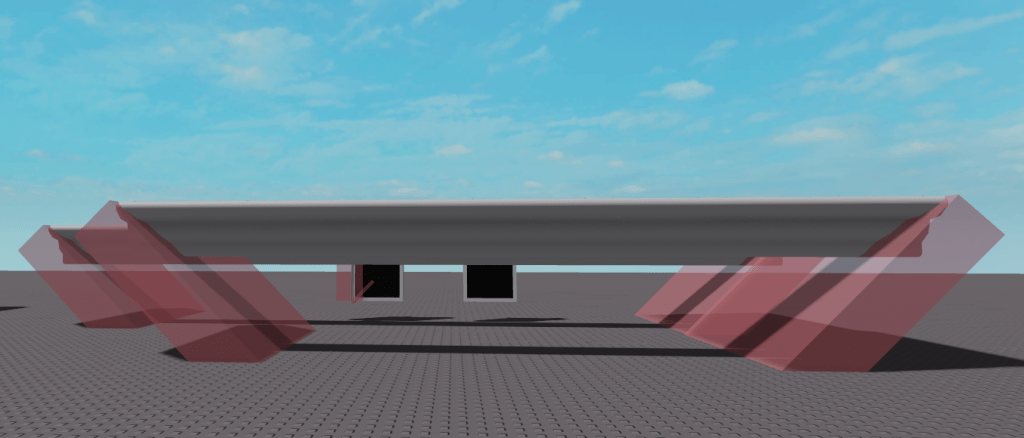
Why a picture frame? Because it allows me to show of some more advanced CSG techniques that a surprising amount of developers are unaware of. The first step to this is to make the general outline of what you want to make. In this case it is the square outline around the black frame.

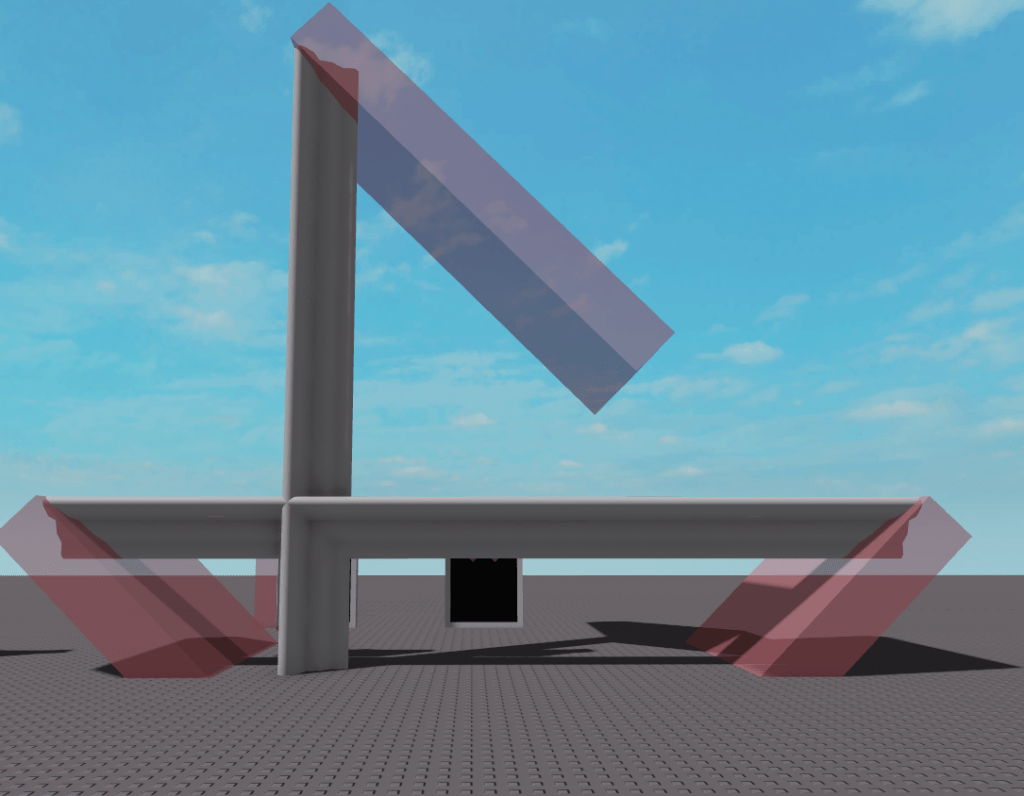
The next step is to design whatever pattern you want for the frame. In this case I used a series of cylinders, bricks, and some wedges to make this shape.
The next shape is to resize and rotate this pattern so it extends to the outer edges of all he frame.

One important thing to note is that I am using Studio Build Suite to do this, which has the ability to resize multiple bricks at the same time along the same axis at the same time. It also has another ability which is to pivot bricks along an edge, which I use in this case to to rotate a brick in at 45 degrees.

This bricks will be used to cut out the corner of the frame.

Next is a set of slightly optional steps, but I like to resize the models so they are much larger. In this case I use Studio Build Suite’s scale ability to scale them 10 times.
If you are on the old CSG system, now is the time to union the parts together. To do this you first convert one part to have proper wood grain and then select that part first when unioning the parts together. If you are on the new CSG system you need to rotate the parts so that the parts align with the correct global axis. In this case you want the longer sides of the parts to go along the X axis.
In either case, you now have the unions completed.

And if you scaled them up they can now be scaled back down. If you scaled them up 10 times, you scale them back down by .1 with Studio Build Suite.
Notice how the frame has 4 sides but I only have 2? You just duplicate the similar sides. This helps them get batched and improves performance. Now you just align the bricks unions over the original brick frame.

And now you color it and it is done, ready to take any image you want to put on it.

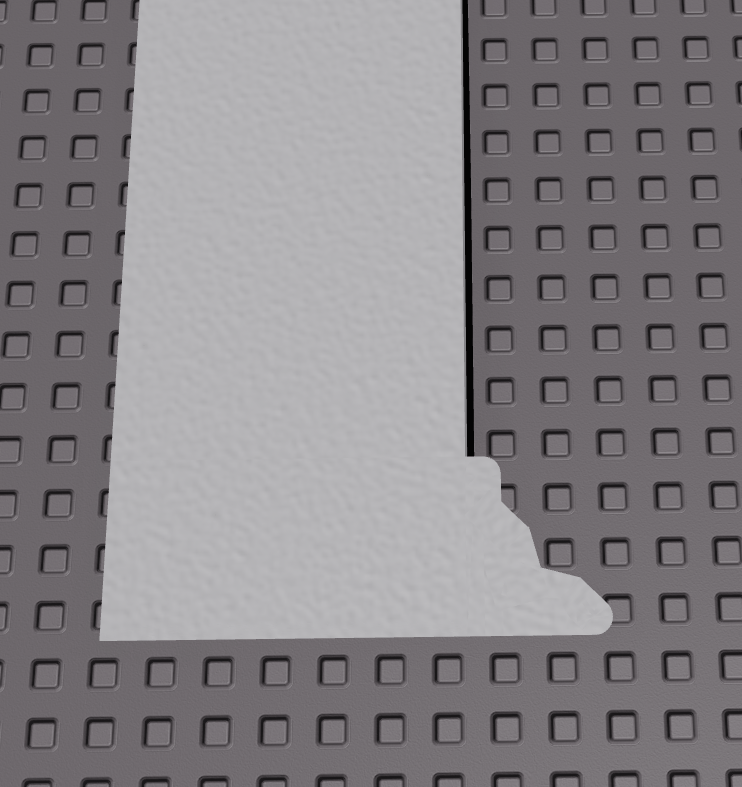
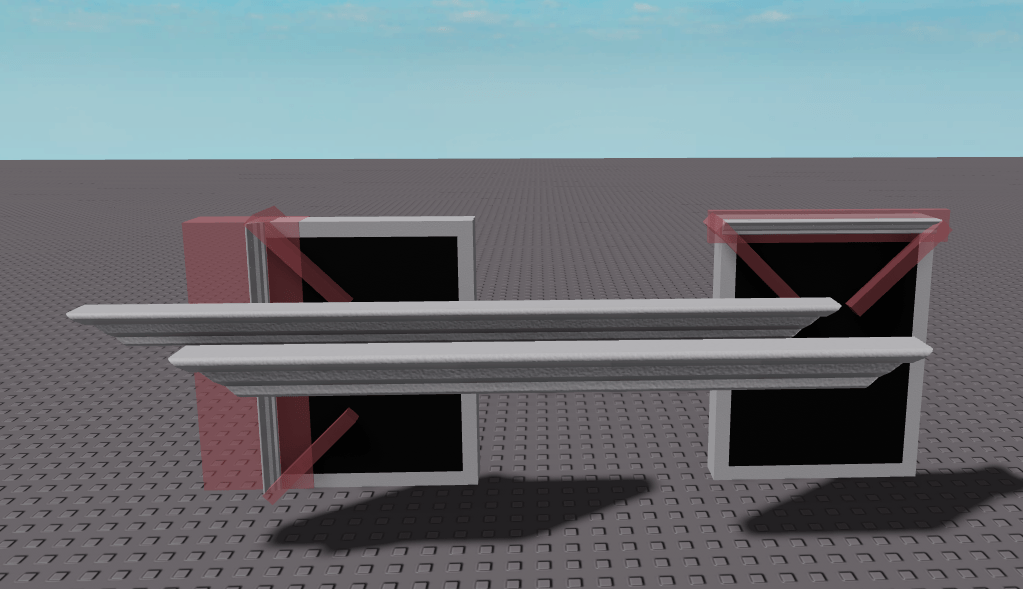
Now that the wood grain section of this is done, one thing I want to talk about is why I scaled the union up before I unioned it. This is because unions aren’t the most precise thing, but the larger the union is the closer it will be to what you want. The image below is where the scaled unions meet up.

And this next one is unscaled unions. Both have some minor gaps from union inaccuracies, but the scaled ones are much less noticeable.

And that is it for today’s blog. Sorry if it is a bit wordy, but I find a bunch of developers don’t properly understand how to do some things with the CSG system. While I am not an expert with it, I hope that I can help teach some people how to be a bit more competent with it.
